Rezepte
Jedes Rezept fasst ein ganzes Ergebnis in einen Protokollzustand: Einmal rückgängig, und alles ist zurückgenommen. Kopiere einen Prompt und füge ihn in deinen Assistenten ein.
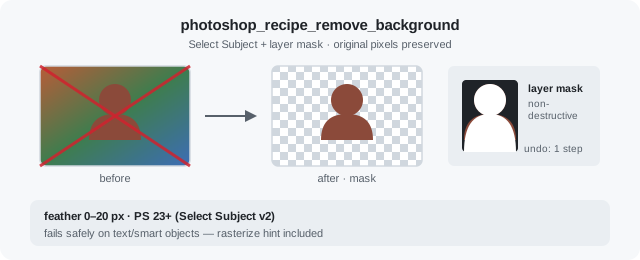
Remove background
RetouchSelect Subject plus a layer mask. Original pixels stay behind the mask.
Remove the background from the active portrait layer. Use Select Subject + a layer mask with a 2px feather. Keep the original pixels behind the mask.
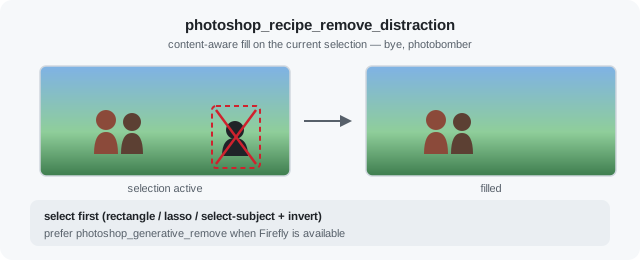
Remove a distraction
RetouchContent-aware fill on your rough selection. Nothing outside it is touched.
There's a tourist photobombing my landscape on the active layer. I'll rough-select him with the lasso — then run the remove-distraction recipe with a 1px feather. Content-aware fill only; don't touch anything outside the selection.
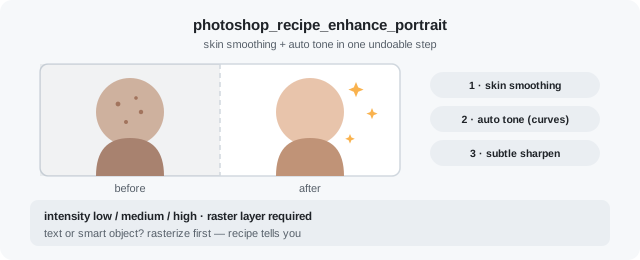
Enhance a portrait
RetouchSkin smoothing and auto tone in one undoable step.
Enhance the portrait on the active layer at medium intensity with skin smoothing. Use the enhance-portrait recipe — I want frequency separation + auto-tone in one undoable step. Show me a preview when done.
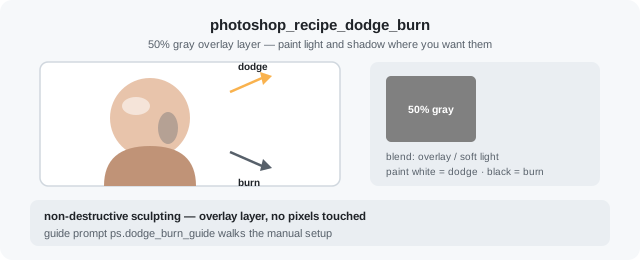
Dodge & burn setup
RetouchA 50% gray overlay layer, ready for you to paint light and shadow.
Set up dodge & burn on the active portrait layer: a 50% gray layer in overlay blend mode. I'll paint with a white/black brush myself — just prepare the non-destructive setup.
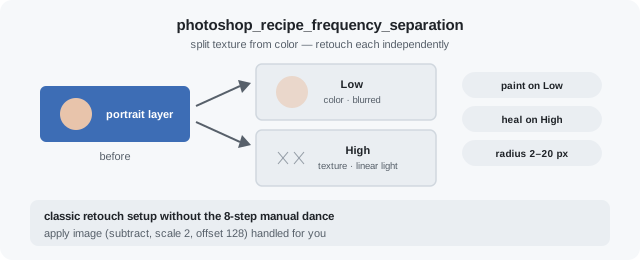
Frequency separation
RetouchSplits texture from color into Low and High layers you can paint on.
Set up frequency separation on the active raster layer with a 6px blur radius. I will paint on the Low and High layers myself — do not apply extra smoothing. Tell me which layers to edit when the stack is ready.
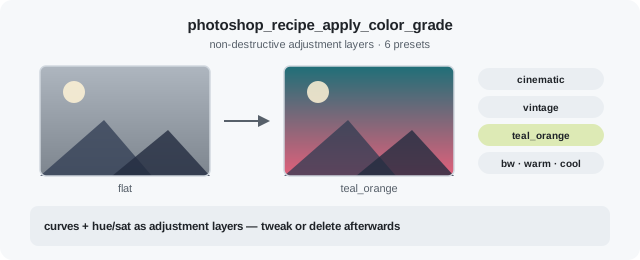
Color grade
RetouchTeal-orange, warm film and other looks as non-destructive adjustment layers.
Apply a warm film color grade to the open document as non-destructive adjustment layers. Use the apply-color-grade recipe with preset warm_film. Preview the result when finished.
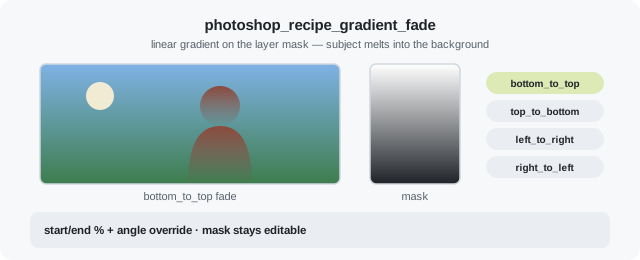
Gradient fade
ComposeMelts the subject into the background with an editable mask gradient.
Fade the isolated subject into the background from the bottom up. Apply a bottom_to_top gradient on the layer mask, 0 to 100%. Keep the mask editable.
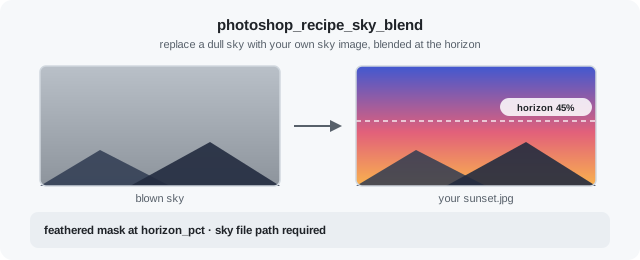
Sky blend
ComposeReplaces a blown-out sky with your own sky image, feathered at the horizon.
The sky in my landscape is blown out. Blend ~/skies/sunset.jpg in as the new sky, horizon at 45% of the frame height, feathered so the treeline stays natural.
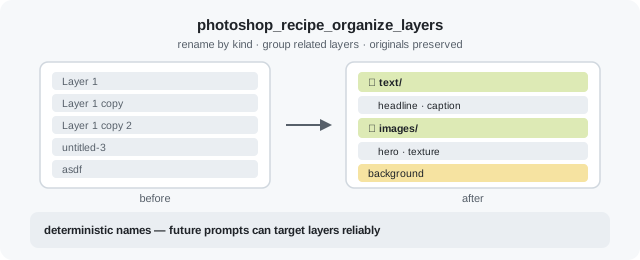
Organize layers
ComposeRenames layers by kind and groups related ones. Originals preserved.
Organize the layer stack: rename by kind, auto-group related layers, preserve originals. Run the organize-layers recipe, then list layers so I can review the new structure.
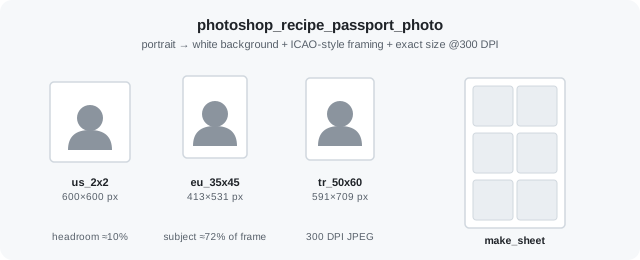
Passport photo
ComposeWhite background, proper headroom, exact size and DPI, optional print sheet.
Turn the open portrait into a US passport photo: white background, proper headroom, exact 600x600 px at 300 DPI. Also give me a 10x15 cm print sheet with copies.
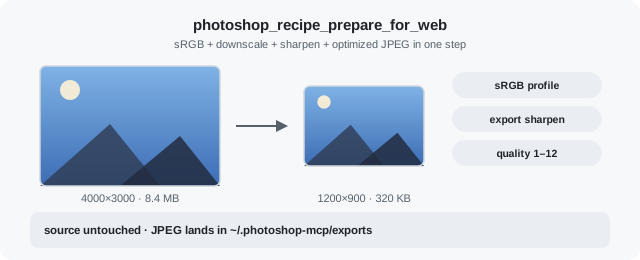
Prepare for web
ExportsRGB, downscale, sharpen, optimized JPEG — in that order.
Prepare the active document for web: sRGB, downscale, sharpen, export one optimized JPEG to ~/.photoshop-mcp/exports.
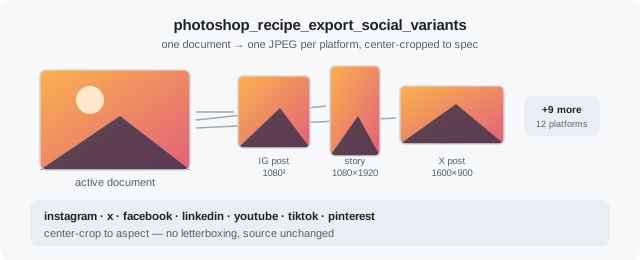
Social variants
ExportOne JPEG per platform at spec dimensions from the same document.
Export Instagram post and X post variants as separate JPEGs from the open document. List the output paths in a table.
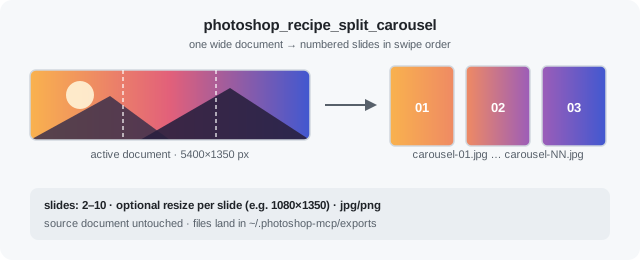
Seamless carousel
ExportSlices one wide document into numbered slides in swipe order.
Split the active document into a 5-slide seamless Instagram carousel. Each slide should be 1080x1350 — crop the slices, don't letterbox them. Give me the exported file paths in swipe order.
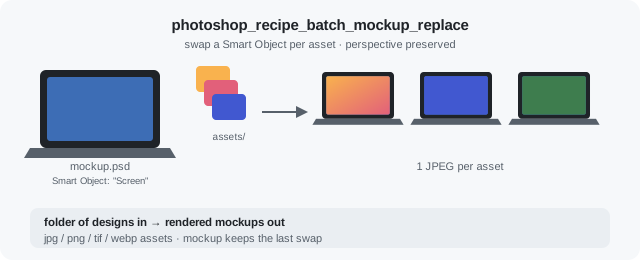
Batch mockup replace
BatchSwaps a Smart Object per asset so perspective is preserved; one render each.
I have a mockup PSD open with a Smart Object layer named "Screen". Replace it with every PNG/JPG in ~/assets/mockups/ and export one JPEG per asset. Swap the Smart Object so perspective is preserved.
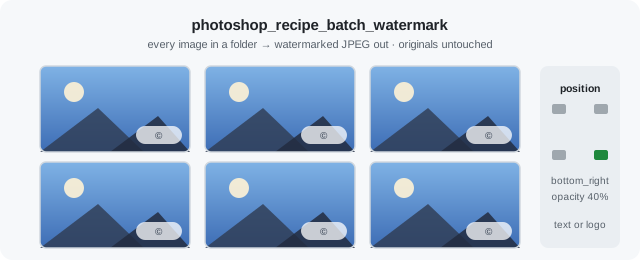
Batch watermark
BatchWatermarks every image in a folder; originals are never touched.
Watermark every photo in ~/photos/portfolio with the text "© Jane Doe 2026". Bottom-right corner, 40% opacity, small margin from the edges. Export watermarked JPEGs — never touch the originals.
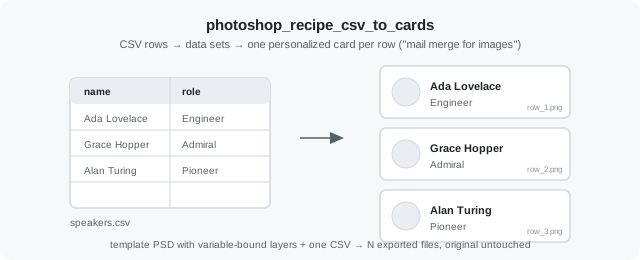
CSV to cards
BatchMail merge for images: one personalized export per CSV row from a template PSD.
Generate a name card for every row in ~/cards/speakers.csv using the open template PSD. PNG output to ~/cards/out — one file per row, named after the row.